
How Honey Is Harvested – A Complete Guide From Hive to Jar
Introduction to Honey Harvesting
Honey harvesting is both a rewarding and crucial part of beekeeping, offering not only a delicious natural sweetener but also a deeper appreciation for the incredible work of honey bees. Humans have been harvesting honey for thousands of years, from ancient cave paintings depicting honey gathering to modern eco-conscious apiaries. Today, responsible honey harvesting supports the health of bee colonies and contributes to local ecosystems and economies. Whether you're a beginner or an experienced beekeeper, understanding the right techniques ensures both safety and sustainability.
Understanding the Basics of a Beehive
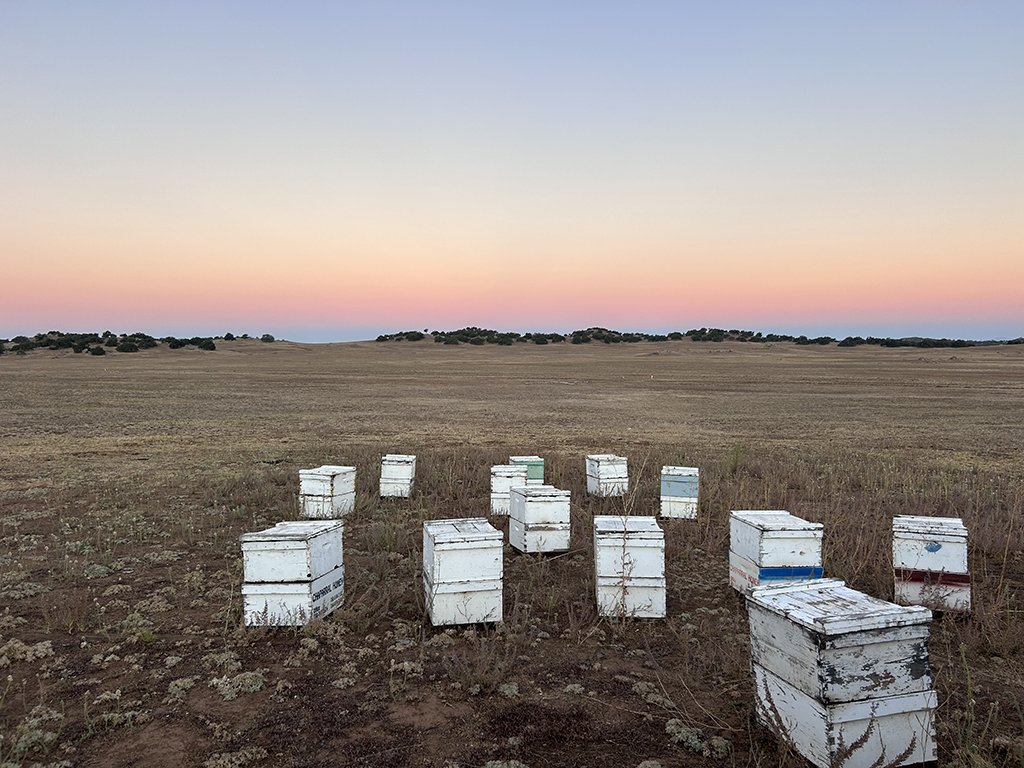
To harvest honey effectively, it helps to know how a beehive functions. In most modern setups, beekeepers use a Langstroth hive, which consists of stacked boxes containing removable frames. These frames are where bees build wax combs to store honey, pollen, and raise their young. Worker bees — all female — are responsible for foraging nectar, converting it into honey, and storing it within the comb. Over time, they seal these honey-filled cells with wax, signaling that the honey is ripe and ready for collection.
When Is the Right Time to Harvest Honey?
Timing is everything when it comes to honey harvesting. The best time is typically late summer or early autumn, when bees have had the entire season to forage and store surplus honey. The clearest sign that honey is ready for harvest is when at least 80% of the comb cells are capped with a thin layer of wax. This means the moisture content is low enough to prevent fermentation, ensuring long shelf life. Harvesting too early can result in watery honey that spoils quickly, while waiting too long can mean bees start consuming their stores for winter.
Essential Tools for Harvesting Honey
Before you dive into honey harvesting, it’s important to gather the right tools. These not only make the process easier but also safer — for both you and the bees.
Beekeeper suit and gloves: Protect yourself from stings with a full-body suit, gloves, and a veil. Bees are generally docile but can become defensive during harvesting.
Smoker: This essential tool calms the bees by masking alarm pheromones, making them less likely to sting and easier to work around.
Hive tool and bee brush: A hive tool helps pry apart sticky frames, while a bee brush gently removes bees from the honeycomb without harming them.
Uncapping knife: This hot knife or serrated tool slices off the wax cappings that seal the honey inside the comb.
Honey extractor: A centrifuge-like device used to spin honey out of the comb. It can be manual or electric depending on your scale of production.
Having clean, food-safe buckets and strainers ready is also crucial for collecting and filtering the honey after extraction.
Preparing the Hive for Harvest
A successful harvest begins with a thorough inspection. Start by opening the hive and evaluating the honey stores. Ensure that the bees have at least 60–70 pounds of honey remaining for themselves — especially if you're harvesting in late summer before winter.
Look for healthy brood patterns, good bee activity, and minimal signs of disease or pests. Only proceed with harvesting if the hive is thriving. Be sure to plan your timing so that bees have a chance to rebuild reserves if needed, particularly in cooler climates where food becomes scarce.
Removing the honey super (the upper box of the hive where bees store surplus honey) should be done with care to disturb the colony as little as possible.
How to Calm Bees Before Harvesting
Even the most seasoned beekeepers rely on a smoker to maintain calm in the hive. By emitting cool, white smoke, the smoker disrupts the bees’ communication and encourages them to retreat deeper into the hive.
Use just a few gentle puffs at the entrance and under the lid — there’s no need to flood the hive with smoke. Too much can agitate the bees rather than soothe them.
Additionally, pick a warm, sunny day when most of the bees are out foraging. Bees are typically more docile during mid-morning to early afternoon. Moving smoothly and slowly during the process also helps keep the colony calm and cooperative.
Removing Honey Frames From the Hive
Once the bees are calm and the honey supers have been checked, it’s time to remove the honey-filled frames. Carefully lift each frame from the super using your hive tool. You’ll know a frame is ready when it’s heavy with capped honeycomb — the wax capping is a sure sign the honey is cured and ready for storage.
Use a bee brush or gentle shaking motion to remove lingering bees from the frame. Be careful not to damage the comb. Place the frames into a clean, covered container or transport box to protect them from dirt, bees, or opportunistic insects. Work methodically to avoid crushing bees or accidentally harming the queen.
Removing multiple frames efficiently while maintaining calmness is a skill that improves with practice, and it’s essential to respect the bees’ space during the process.
Uncapping the Honeycomb
Now comes one of the most satisfying steps — uncapping the honeycomb. This involves removing the thin wax seal the bees place over each cell once the honey is properly dehydrated.
To do this, use an uncapping knife (heated or serrated) to gently slice off the wax cappings. Work over a large container to catch drips, and be careful to keep the comb structure intact so it can be reused by the bees later.
Some beekeepers use an uncapping fork to remove wax from hard-to-reach corners. The cappings, rich in wax and residual honey, can be saved and processed separately for beeswax products like candles or balms.
Extracting Honey With a Centrifugal Extractor
After uncapping, the frames go into a honey extractor — a drum-shaped tool that spins the frames rapidly to release the honey. The centrifugal force draws the honey from the comb and collects it at the bottom of the extractor.
Manual extractors require you to crank a handle, while electric ones automate the process, which is especially helpful for larger batches. Once the honey is fully extracted from both sides of the frames, allow it to pool at the bottom.
Most extractors have a gate valve that lets you drain the honey into a clean bucket or strainer. It’s a mesmerizing process that turns hours of bee labor into flowing golden sweetness — and it’s all done without destroying the wax comb, so bees can reuse it later.
Filtering and Straining the Honey
Once extracted, the honey often contains bits of wax, pollen, or even the occasional bee part. Filtering ensures a clean, smooth final product. Pour the honey through a fine mesh strainer or multiple layers of cheesecloth into a clean, food-grade bucket.
Let the honey sit for a few hours or even overnight. During this time, any remaining air bubbles or particles will rise to the top. You can skim these off or leave them, depending on your preference for raw versus ultra-clear honey.
Filtering does not remove the beneficial enzymes and nutrients in raw honey. It simply improves texture and appearance, making your honey more appealing for gifting or selling.
Bottling the Liquid Gold
Once filtered, it’s time to bottle your honey. Clean and sanitize your jars or bottles beforehand to prevent contamination. Use glass or BPA-free plastic containers with tight-sealing lids to preserve freshness.
Slowly pour the honey into the jars, leaving a bit of headspace at the top. Label your containers with the date of harvest, location (if desired), and any branding or flavor notes.
Bottling is a gratifying step — the moment where all your care and patience as a beekeeper pay off. You’re holding the pure result of thousands of bee flights and careful harvesting in your hands.
Storing Your Honey Properly
Proper storage is key to preserving your honey's quality and flavor. Keep jars in a cool, dry location away from direct sunlight. Room temperature (around 65–75°F or 18–24°C) is ideal.
Honey is hygroscopic, meaning it absorbs moisture from the air, so always keep containers tightly sealed. Excess moisture can lead to fermentation over time.
Although honey never truly spoils, over years it can darken and its flavor may change slightly. If your honey crystallizes — which is completely natural — simply place the jar in a warm water bath to return it to its liquid state without damaging the nutrients.
Ethical and Sustainable Honey Harvesting
Good beekeeping isn’t just about collecting honey — it’s about caring for the health and longevity of your colony. Ethical harvesting means leaving enough honey for the bees to survive the winter. On average, a colony needs 60–70 pounds of honey to make it through colder months, though this varies by region.
Never take all the honey. If your hive doesn’t have excess capped honey, it’s better to skip harvesting that season. Some beekeepers provide sugar syrup as a supplement, but it should never fully replace natural honey in the hive.
Sustainable practices also include using non-toxic treatments for pests and maintaining a diverse floral environment around your hives to support healthy foraging.
Safety Tips for Beginner Beekeepers
Harvesting honey can be an incredibly rewarding experience, but safety should always come first — especially for those new to beekeeping.
Wear proper protective gear: A full suit, gloves, and a veil minimize the risk of stings.
Know your allergies: If you or anyone helping you is allergic to bee stings, have an EpiPen nearby and know how to use it.
Stay calm and move slowly: Bees react to fast, erratic movements. The calmer you are, the calmer they will be.
Avoid harvesting during bad weather: Bees are more aggressive on overcast or rainy days. Choose sunny, warm days when bees are actively foraging.
By following these precautions, you’ll ensure a safe, productive, and sting-free harvest.
Common Mistakes to Avoid
Even experienced beekeepers can make mistakes, especially when under time pressure or trying to maximize yield. Here are a few to avoid:
Harvesting too early: If the honey isn’t fully capped, it may contain too much moisture and ferment in storage.
Not using a smoker: Skipping the smoker can result in agitated bees and a stressful harvest.
Taking too much honey: This can weaken the colony and reduce their chances of overwintering successfully.
Poor storage conditions: Exposing honey to heat, humidity, or sunlight can degrade its quality and lead to spoilage.
Using dirty equipment: Unsanitized jars or tools can introduce bacteria and compromise your honey’s shelf life.
Learning from these common pitfalls will help you build confidence and refine your harvesting technique over time.
Final Thoughts on the Joy of Beekeeping
Harvesting honey is more than just collecting a sweet reward — it’s a celebration of your bees’ hard work and your stewardship as a beekeeper. Each jar reflects a season’s worth of care, observation, and dedication to ethical practices.
As you grow more comfortable with the process, you’ll not only enjoy a more bountiful harvest but also develop a deeper bond with your bees and the rhythms of nature. Whether you keep bees as a hobby or a source of income, the joy of that golden flow never fades.
FAQs About Harvesting Honey
1. How do I know when honey is ready to be harvested?
Honey is ready when at least 80% of the comb cells are capped with wax. This indicates that the honey has the right moisture content and won’t ferment in storage.
2. Can I harvest honey without harming the bees?
Yes, when done correctly and ethically. Use a smoker to calm bees, avoid harming the queen, and always leave enough honey behind for the colony's survival.
3. What if my honey crystallizes after harvesting?
Crystallization is natural and doesn’t mean the honey is spoiled. Gently warm the jar in a bowl of hot water to return it to liquid form without damaging the enzymes.
4. How much honey can one hive produce in a season?
A healthy, well-managed hive can produce anywhere from 30 to 100 pounds of surplus honey per season, depending on climate, nectar flow, and hive strength.
5. Do I need an extractor to harvest honey?
While an extractor makes harvesting efficient and preserves the comb, you can also use the crush-and-strain method if you're harvesting on a small scale or don't have the equipment.